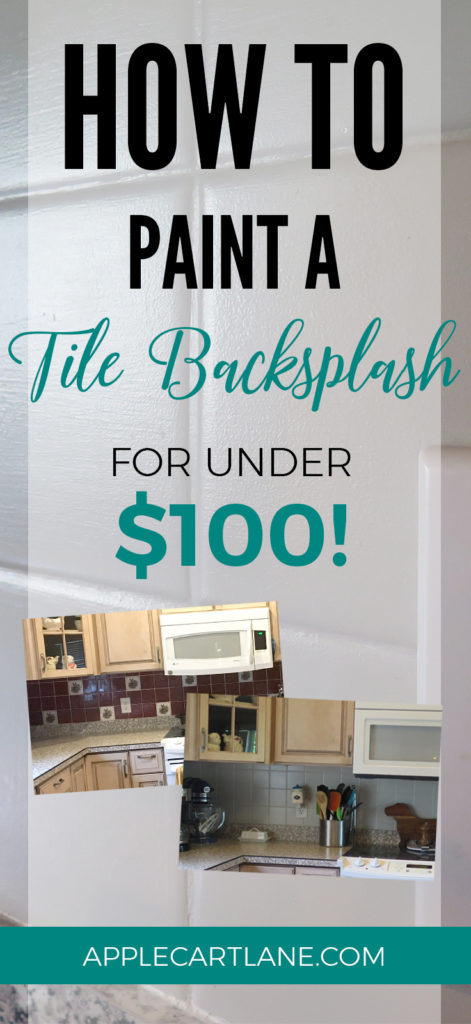
Do you have an UGLY tile backsplash that needs a fresh look? Did you know you can actually paint your tile backsplash? I didn’t either until I tried it myself!
I’m going to show you how you can give that ugly tile backsplash a facelift in just one day!
I was ecstatic when my husband and I found our forever home! After selling our first home in less than two weeks, we were house hunting HARD! After looking at dozens of houses, I started to worry about finding a home that we would want to call ours. We knew what we were looking fo: an open concept, a large kitchen, a finished basement and a bit of land in the town I grew up in were at the top of our list. The day I found the listing for our house, I knew that was the one. It was everything we wanted, with a few exceptions.
You see, the owners of the home were in their mid 70’s. Needless to say, our style choices didn’t align and there were MANY things I wanted to change, the first one being this ugly tile backsplash. I definitely needed to figure out how to paint a tile backsplash!
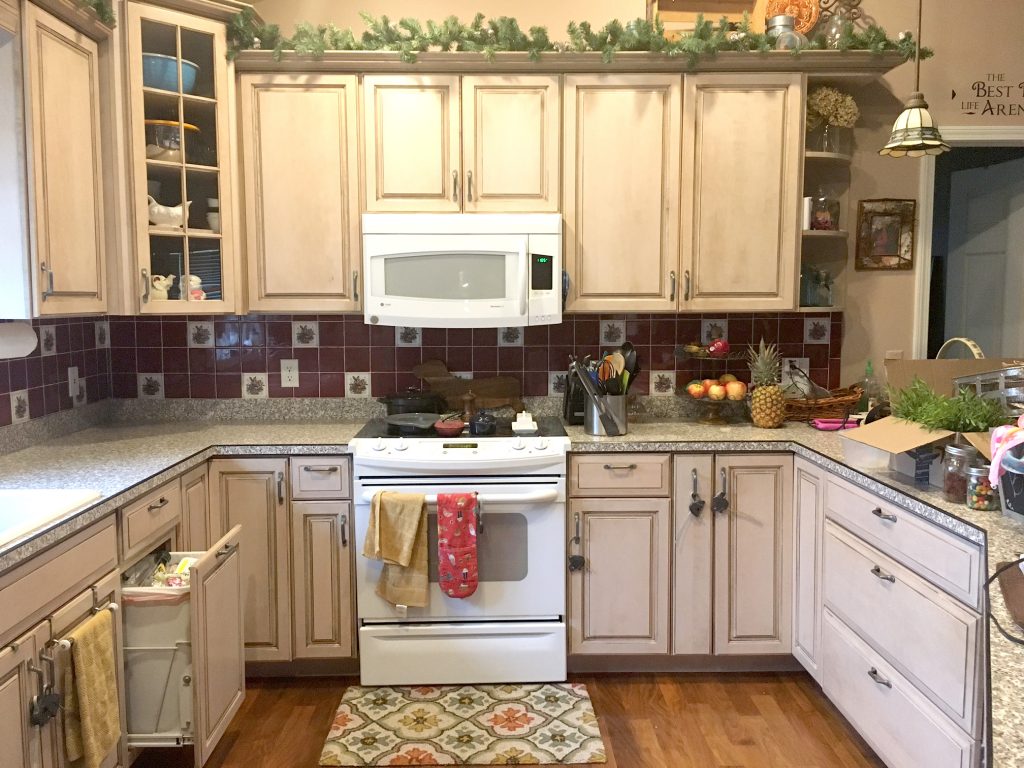
Fruit bowls? Seriously? I’m not sure it could get any worse than that.
Being a mom on a budget with plenty of other things to spend my money on, there was no way I could fork out thousands of dollars for a new backsplash. After a bit of research online, I decided I would attempt to paint it. It couldn’t get much worse than red tile backsplash with a healthy dose of old lady, right?
Roughly $90 and a few hours later, I had taken about 40 years off of the look of my kitchen and I am SO pleased with the way it turned out.
How to Paint a Tile Backsplash
You will need:
Tape (not completely necessary if you have a steady hand)
Brush
Mini Roller
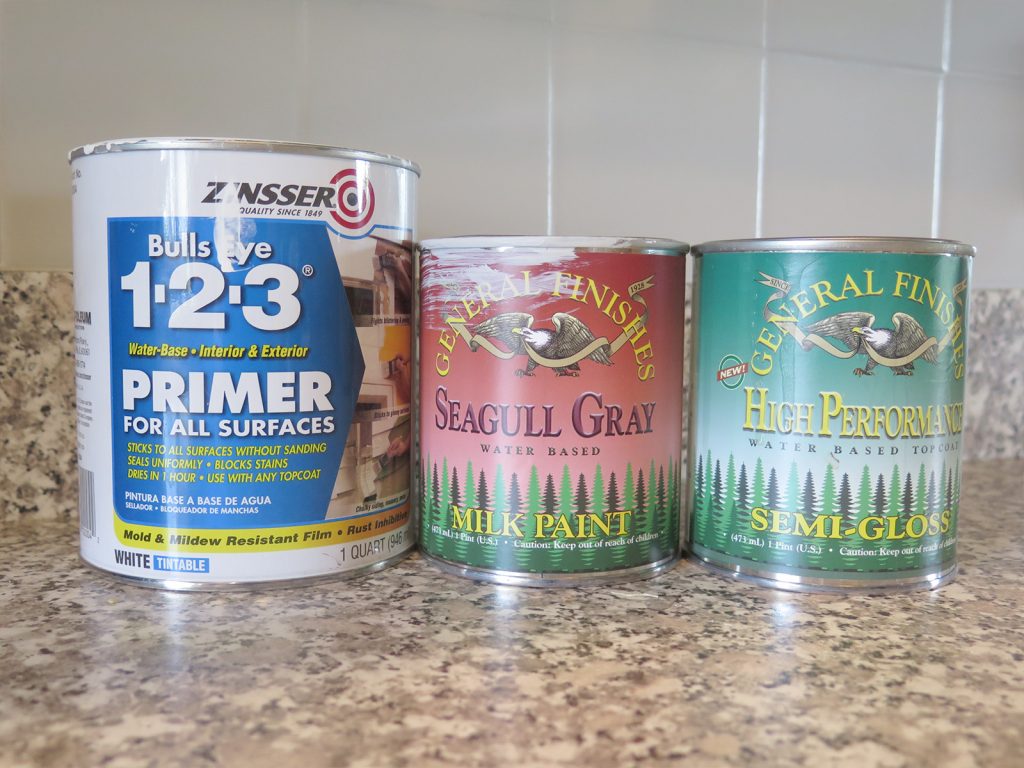
Bullseye Primer (It is super important to use this primer! I made the mistake of using a different primer first, and it did not adhere to the glossy tile. It smudged right off. So definitely use this primer!)
General Finishes Milk Paint (I used Seagul Gray)
I was surprised how far the can of milk paint went. I still have some left after the 3 coats, and I’d say I have a fairly large backsplash.
General Finishes Semi-Gloss Water Based Top Coat
A bit about the Milk Paint…the only place I was able to find this was on Amazon. I usually don’t buy home improvement stuff on Amazon because I like to see it in person but with this project, I didn’t have a choice. I would not recommend using a different paint. I have NO idea how that would turn out. But I can tell you that this specific paint it awesome! I did 3 coats and I still have about half a can left! It goes on so easily because it’s thin. No gloopiness at all. I also highly recommend the gloss paint becuase a. that’s what I used, and b. it’s the same brand as the milk paint so you know they will work well together.
Now You’re Ready to Paint Your Tile Backsplash!
Step 1 >> Prep the area by cleaning off your counters and removing the face plates to your outlets.
Step 2>> Wipe down the tile with a damp cloth and a non-abrasive cleaner to remove any dust or grime that has built up on the existing tile. I had a lof of food debris on the tile backsplash behind my stovetop, so be sure to pay special attention to that area.
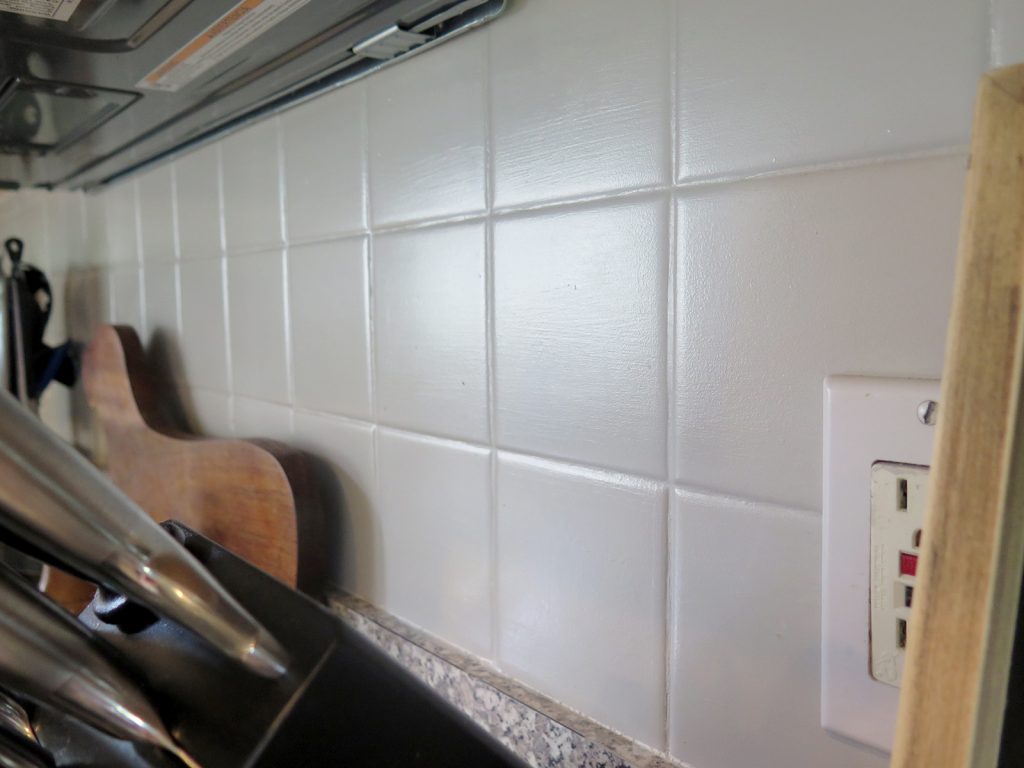
Step 3>> Starting with the primer, trim the edges of your tile area. I used a little brush to get into all of the grout that goes vertically and horizontally as well. Once you have trimmed all of the edges, you can then paint the rest of your primer. It won’t hurt to do two coats of primer, especially if you are covering a dark colored tile like I was.
Yay! Your tile backsplash should be looking so much better at this point!
Step 4>> Once the primer is completely dry, you are ready to apply the real paint! Just like you did with the primer, trim the edges and paint the vertical and horizontal grout lines. I ended up doing 3 coats of paint to make sure everything was covered evenly. I had a fan blowing on the paint and I waited about an hour in between coats. 5
Step 5>> Once the final coat of paint is nice and dry, it’s time to apply the gloss. This is super easy because it’s clear. You don’t have to be nearly as careful as you were painting the primer and paint. I did another three coats of the gloss, waiting about an hour or so in between each coat.
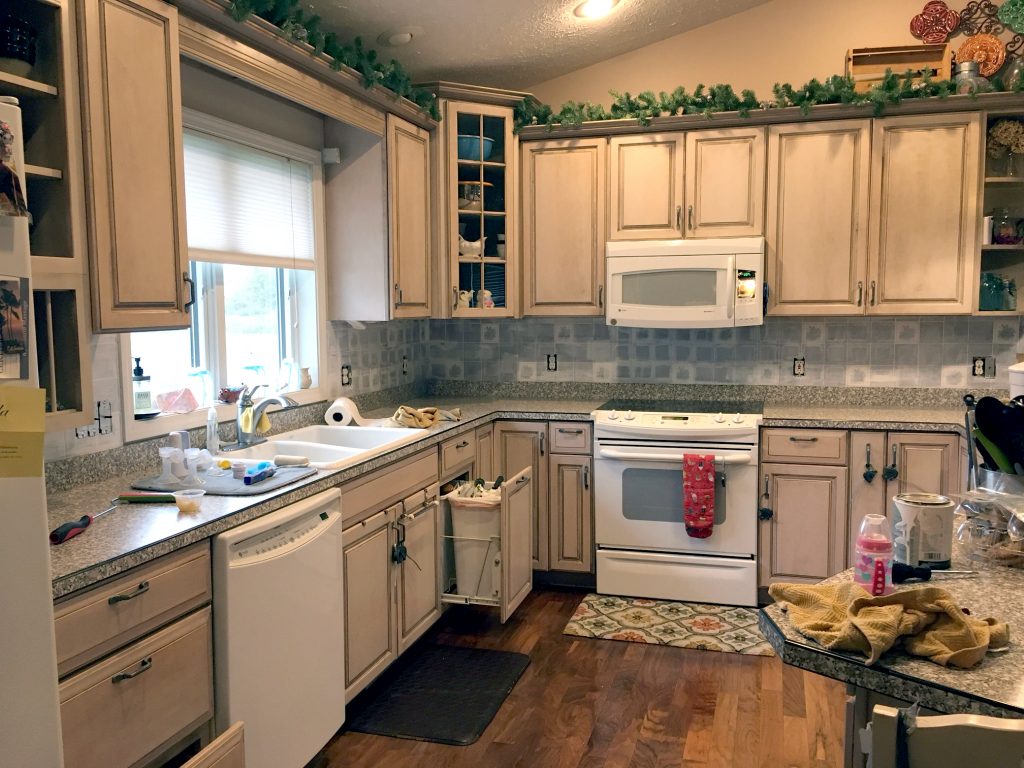
Step 6>> You’re done! Step back and enjoy your updated backsplash. Congratulations, you’ve just saved yourself a few thousand dollars!
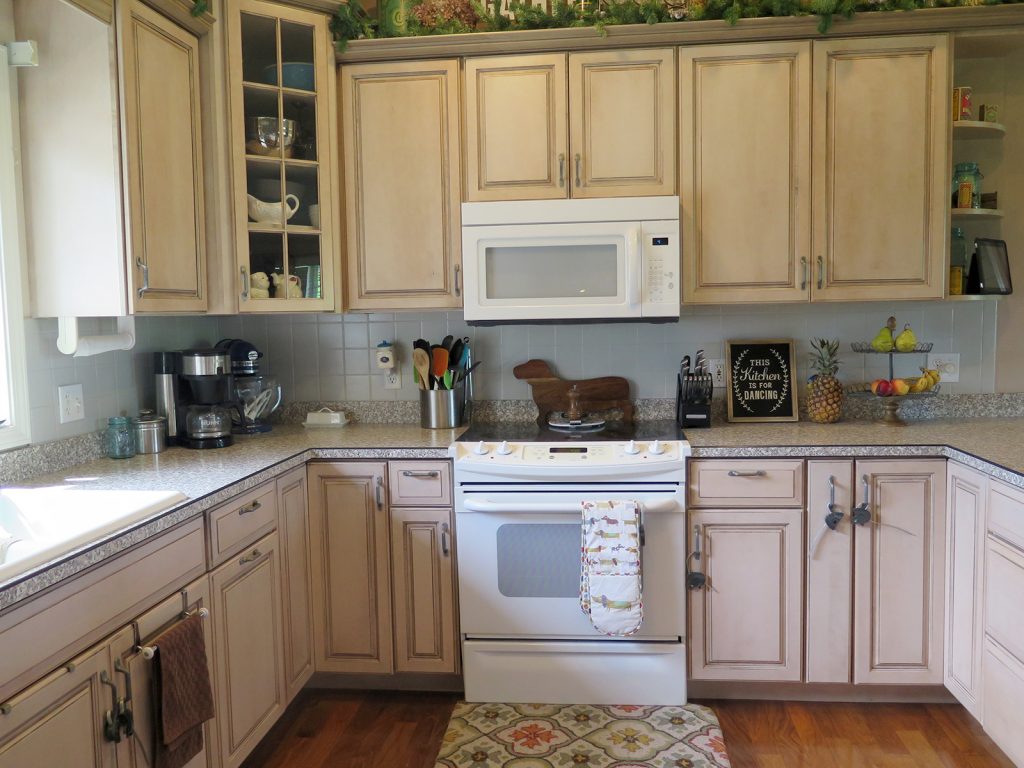
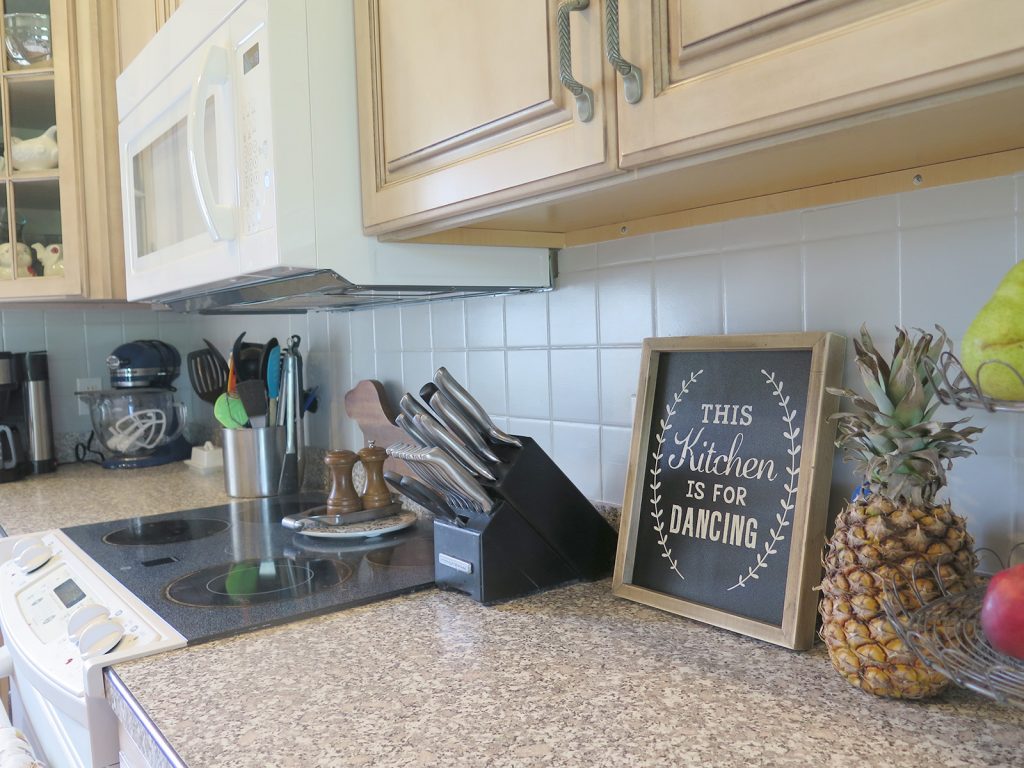
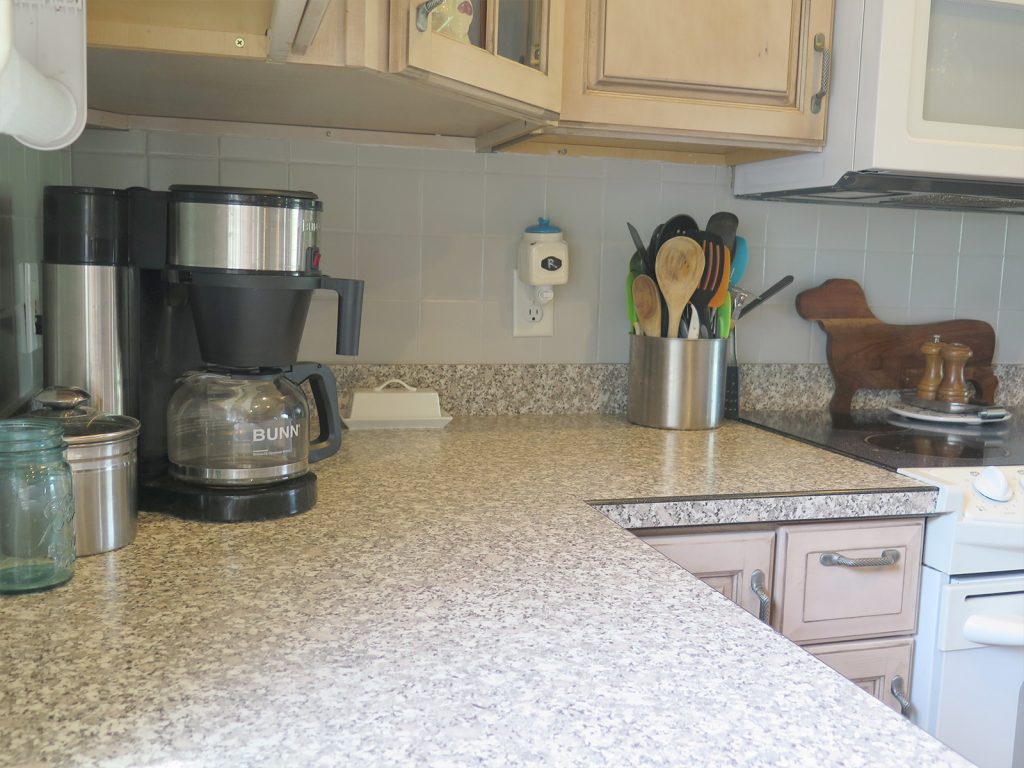
Here are a few pictures of my finished backsplash. I am beyond thrilled with how it turned out. I can’t believe I waited a year to do it, and I wish I would have done it much sooner! So there you have it! That’s how to paint a tile backsplash.
This post may contain affiliate links which mean I might make a few bucks if you purchase an item. There’s no extra cost to you, and I never endorse a product I do not love. Thanks for your support!